Raspberry Pi SD-Karte im Livebetrieb klonen
Seit einigen Wochen betreibe ich eine Nextcloud auf einem Raspberry Pi. Datensicherungen von den Konfigurationsdateien und von der MariaDB werden in regelmäßigen Abständen automatisch mithilfe von Cron Jobs auf ein externes Speichermedium gesichert. Jedoch bleibt ein Risiko, dass mit einem Raspberry Pi theoretisch jederzeit auftreten kann, die SD-Karte geht kaputt.
In einem solchen Fall helfen mir die Sicherungen der Nextcloud-Configs und der Datenbank im ersten Schritt nicht weiter. Zuerst ist das komplette Betriebssystem, mit sämtlichen Anpassungen wieder komplett neu aufzusetzen.
Um das zu vermeiden, erstelle ich nun in regelmäßigen Abständen ein Image der SD-Karte. Damit ich hierfür nicht jedesmal den Pi ausschalten, die SD-Karte ausbauen und über meinen Laptop sichern muss, habe ich mir ein Skript gebastelt, dass die Sicherung automatisch auf ein externes Speichermedium durchführt.
Neue Version des Skripts verfügbar
#!/bin/bash
# by strobelstefan.de
# 2018-05-24
# Version: 1.0
#
# This script creates a full clone of your Raspberry Pi´s SD card.
#
###################################
# Define Variables
###################################
# Storage device as defined in your /etc/fstab.
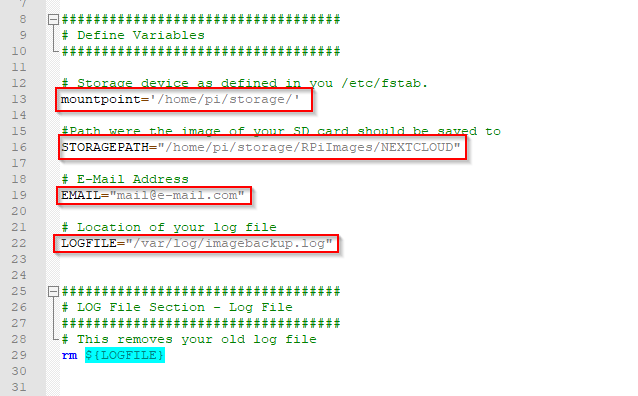
mountpoint='/path/to/'
#Path were the image of your SD card should be saved to
STORAGEPATH="/path/to/my/image"
# E-Mail Address
EMAIL="mail@mail.de"
LOGFILE="/var/log/imagebackup.log"
# This removes your old log file
rm ${LOGFILE}
###################################
# MOUNTPOINT Section - Check Mountpoint Availability
###################################
# It checks if your mountpoint is accessible by your RPi.
# This is a crucial step, if the sotrage is not available the clone process of the SD card cannot conducted.
# Process
# 1. Check if mountpoint is accessible
# 2. If YES go to DELETION Section
# 3.1 If NO, try to mount storage device as defined in /etc/fstab
# 3.2 If mount is again not sucessful exit script, no futher action will be conducted
if [ "$(findmnt ${mountpoint})" ] ;
then
echo $(date +%Y-%m-%d_%H-%M-%S) " - mountpoint accessible by your Raspberry Pi" >> ${LOGFILE}
else
echo $(date +%Y-%m-%d_%H-%M-%S) " - mountpoint was not accessible, try to mount it now as defined in your /etc/fstab" >> ${LOGFILE}
#This command mounts all storages defined in /etc/fstab
mount -a
if [ $? != 0 ]
then
echo $(date +%Y-%m-%d_%H-%M-%S) " - Mount of storage in first try sucessfully completed" >> ${LOGFILE}
sleep 5
mount -a
if [ $? != 0 ]
then
echo $(date +%Y-%m-%d_%H-%M-%S) " - Backup FAILED! Was not able to mount your storage device. Stop backup process. You have to check it manually." >> ${LOGFILE}
echo "Sent backup status via e-mail" | mail -a ${LOGFILE} -s "Radio Pi - Backup FAILED" ${EMAIL} < ${LOGFILE}
exit
fi
fi
fi
##################################################################
# DELETION Section - Remove old Images from Storage Device
##################################################################
# Use this command with CAUTION!
# This will help you to automatically remove old images from your storage device to avoid that your
# storage will run out of space
echo $(date +%Y-%m-%d_%H-%M-%S) " - Start to delete files older than defined time " >> ${LOGFILE}
# Uncomment if the files should be identified by days, file > 30 days than it gets deleted
#find ${STORAGEPATH}/*.* -mtime +30 -exec rm -r {} \;
# Uncomment if you would like to use minutes file > 10080 minutes than it gets deleted
find ${STORAGEPATH}/*.* -type f -mmin +43200 -exec rm {} \;
if [ $? != 0 ]
then
echo $(date +%Y-%m-%d_%H-%M-%S) " - Deletion of old image files sucessfully completed" >> ${LOGFILE}
if [ $? != 0 ]
then
echo $(date +%Y-%m-%d_%H-%M-%S) " - Was not able to delete old image files. You have to check it manually." >> ${LOGFILE}
break
fi
fi
###################################
# CLONE Section - Clone SD Card Image
###################################
# This line creates a full copy of the SD card and writes it as an image file to the defined patch
echo $(date +%Y-%m-%d_%H-%M-%S) " - Started to clone image" >> ${LOGFILE}
# Uncomment this line if you would likt to save a plain img file on your storage device
sudo dd if=/dev/mmcblk0 of=${STORAGEPATH}/radio_$(date +%Y-%m-%d).img bs=1MB
# Uncomment this line if you would like to save the image as a compressed file
# If you would like to restore your image, you can do it via this command on your local machine
# diskutil unmountDisk /dev/disk#
# gzip -dc ~/Desktop/pibackup.gz | sudo dd of=/dev/rdisk# bs=1m conv=noerror,sync
# see for further information --> https://johnatilano.com/2016/11/25/use-ssh-and-dd-to-remotely-backup-a-raspberry-pi/
#sudo dd if=/dev/mmcblk0 bs=1M | gzip - | dd of=${STORAGEPATH}/radio_$(date +%Y-%m-%d).gz
if [ $? != 0 ]
then
echo $(date +%Y-%m-%d_%H-%M-%S) " - Image file created" >> ${LOGFILE}
if [ $? != 0 ]
then
echo $(date +%Y-%m-%d_%H-%M-%S) " - Was not able to create your image file. You have to check it manually." >> ${LOGFILE}
break
fi
fi
###################################
# UMOUNT Section - Unmount Storage Device
###################################
# This command unmounts the defined storage device
# In the first try it will gently try to unmount, if the device is busy the comand will force the unmount.
#echo $(date +%Y-%m-%d_%H-%M-%S) " - Started to unmount storage device">> ${LOGFILE}
#umount ${mountpoint}
#if [ $? != 0 ]
# then
# echo $(date +%Y-%m-%d_%H-%M-%S) " - Device busy, unmount forcefully" >> ${LOGFILE}
# sleep 5
# umount -l ${mountpoint}
# if [ $? != 0 ]
# then
# echo $(date +%Y-%m-%d_%H-%M-%S) " - Issue with umount you storage, check manually" >> ${LOGFILE}
# break
# fi
#fi
echo $(date +%Y-%m-%d_%H-%M-%S) " - Mission Accpmplished!!!" >> ${LOGFILE}
echo "Sent backup status via e-mail" | mail -a ${LOGFILE} -s "Radio Pi - Backup SUCCESSFULL" ${EMAIL} < ${LOGFILE}
Kopiert das Skript auf euren Pi oder erstellt es mit einem Editor in einem Verzeichnis eurer Wahl.
Im Abschnitt "CLONE Section - Clone SD Card Image" könnt ihr wählen, ob ihr eine img-Datei oder eine gzip-Variante eurer SD-Karte auf euer Speichermedium übertragen wollt. Bei mir war das Ergebnis mit dem gleichen Pi folgendes
img-Datei Größe der geklonten Datei auf Speichermedium: GB; Bytes) Laufzeit von dd:
gz-Datei Größe der geklonten Datei auf Speichermedium: Laufzeit von dd:
Leider gab es bei diesem Lauf ein kleines Gewitter mit einem Stromausfall. Der "dd" Job wurde abgebrochen, deshalb stehen mir keine Daten zur Verfügung. Ich werde versuchen die bei Gelegenheit nachzureichen.
Das Skript sollte noch ausführbar gemacht werden
sudo chmod +x skript.sh
Anschließend solltet ihr die Variablen anpassen und dann könnt ihr es schon starten
sudo sh skript.sh
Damit die Sicherung automatisch gestartet wird, ist ein Cron Job anzulegen.
sudo crontab -e
Dort erstellt ihr einen neuen Eintrag, z.B.
0 23 1 * * /bin/bash /home/pi/skripte/skript.sh
Läuft das Skript kann die Laufzeit sehr lange sein, je nachdem wie viele Daten auf der SD-Karte liegen.
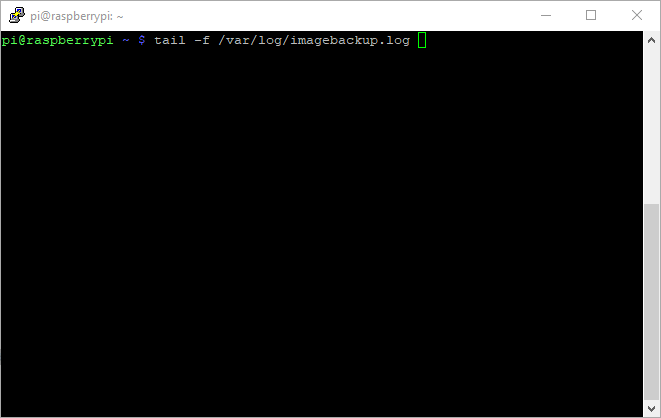
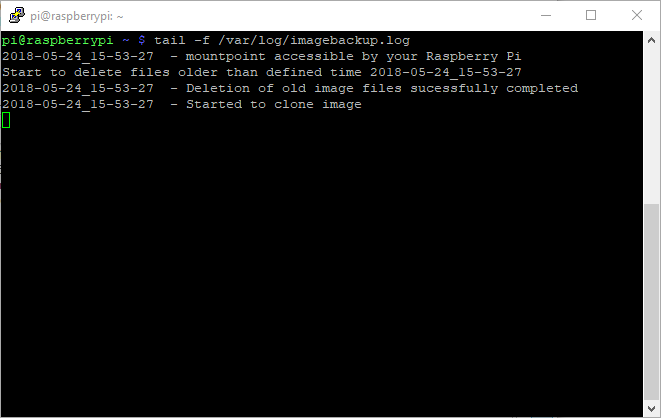
Im Skript werden über den Befehl "echo" Statusmeldungen erstellt und in die Datei /var/log/imagebackup.log geschrieben. Mit dem Befehl "tail -f" kann man in die Datei sehen und jede Änderung wird dort auch angezeigt.
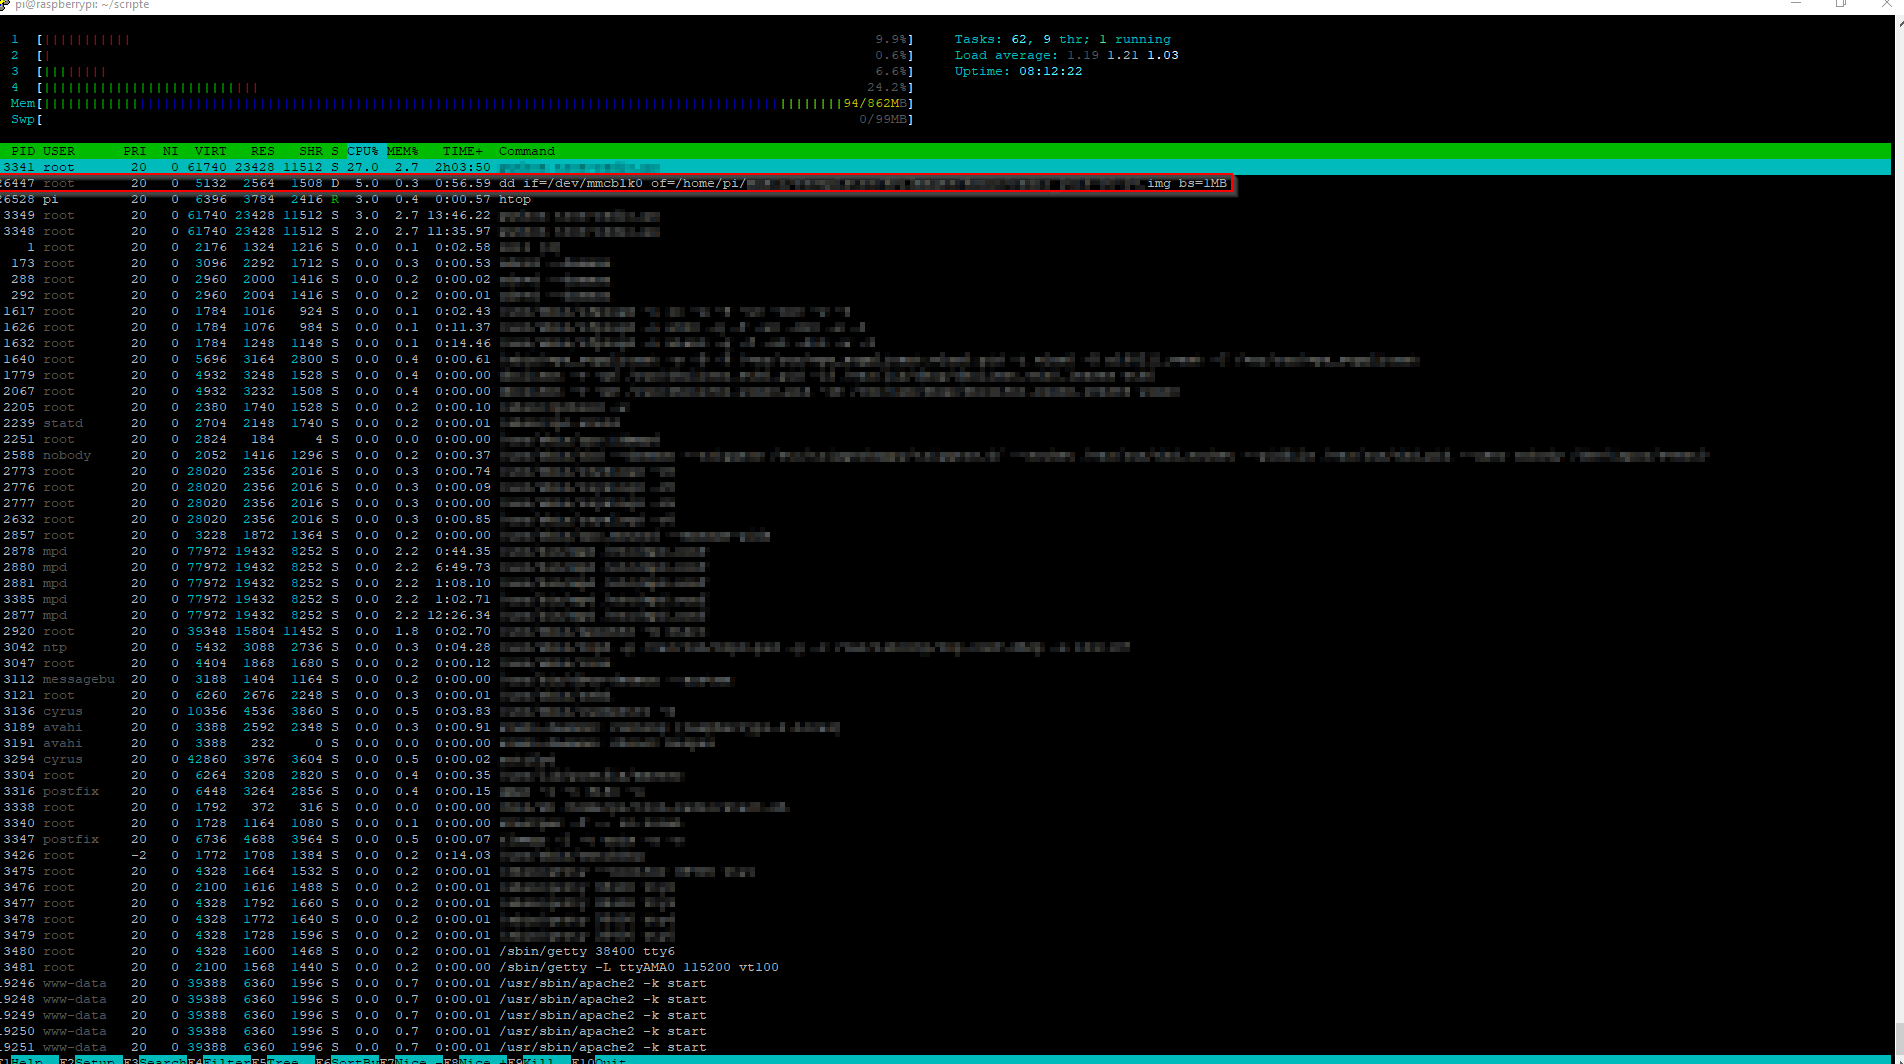
Eine weitere Möglichkeit ist zu prüfen, ob der Klonevorgang noch läuft und die Ressourcenauslastung des Pis zu überwachen. Das geht recht einfach mit dem Tool "htop". Sollte das auf eurem Pi noch nicht installiert sein, geht das mit dem Befehl
sudo aptitude install htop
Codeberg
Damit der Raspberry Pi E-Mails versenden kann, ist ein Mail Transfer Agent (MTA) zu installieren.
Dein Weg zur eigenen Nextcloud
Gib mir gerne einen Kaffee ☕ aus ❗️
Wenn dir meine Beiträge gefallen und geholfen haben, dann kannst du mir gerne einen Kaffee ☕️ ausgeben.
![]() •
• ![]()
Bitcoin Address: bc1qfuz93hw2fhdvfuxf6mlxlk8zdadvnktppkzqzj
Follow Me❗️
Source
Photo by Markus Winkler on